Case Studies

Andy Parks
Jigsaw transportation and framing
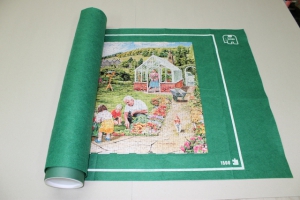
Jigsaws are projects that we frame from time to time. The jigsaws must be dry mounted onto a thicker piece of card so that they remain flat (and in one piece!) throughout the framing process. A customer bought in their jigsaw to be framed in an ingenious roll up storage device that you can easily transport the jigsaw without any concerns about the jigsaw falling apart. The idea is that you work on the jigsaw on top of the cloth.
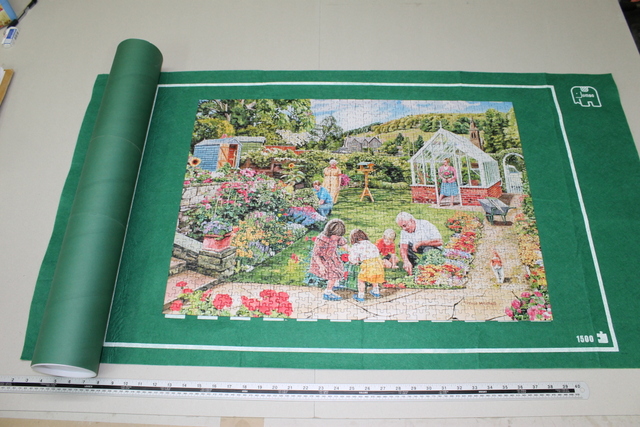
Then when you have finished working on it you can simply roll the jigsaw up until you want to work on it again.
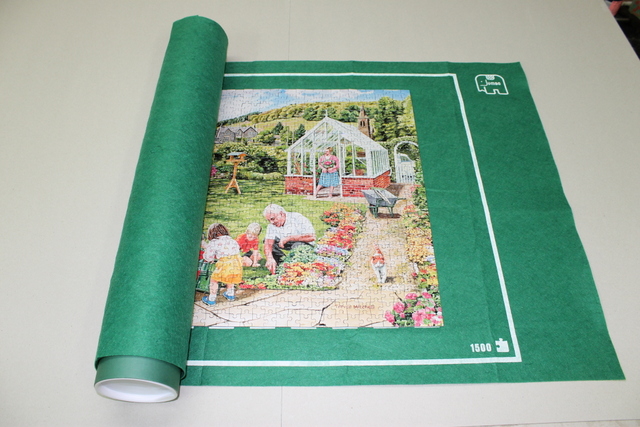

This must also have the advantage of freeing up the dining table whilst the jigsaw is being solved! I suspect this is a great idea that has been around for a while and I have only just stumbled upon it but it certainly beats the splintered piece of marine ply that I used to use for jigsaws!
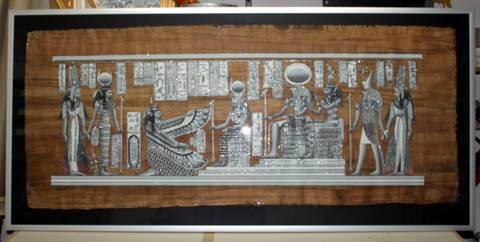
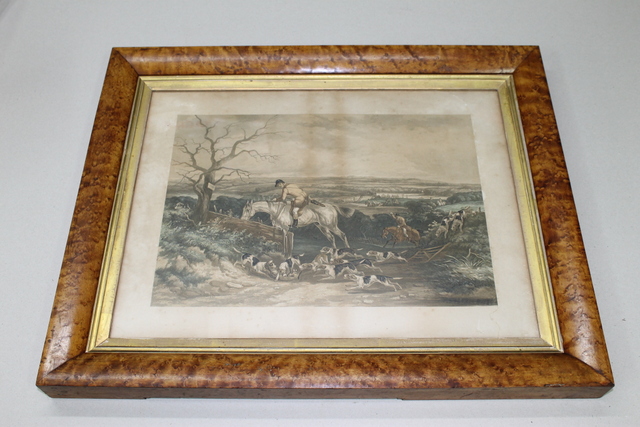
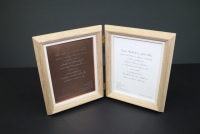
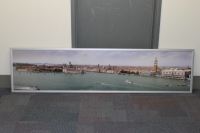
Reglazing a veneer frame with a gold slip
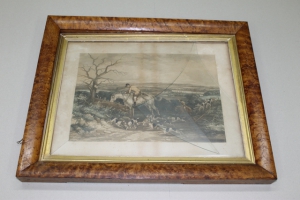
This is a project that often appears with our customers: a picture with broken glass. It may well happen during moving home or possibly during decorating or maybe just time has had too much of a negative effect on the picture wire. In other words the wire snapped and the picture fell off the wall! I really like doing these projects as there is a real chance to use acid free or conservation methods and products to help preserve the picture for generations to come.
Note the wire and how it has snapped. This is often because of the pressure on one point of the wire on the wall hook. The other concern is also what was below the picture frame when the wire snapped such as furniture or in one unfortunate customer's case, herself! Fortunately it just missed her when it crashed down.
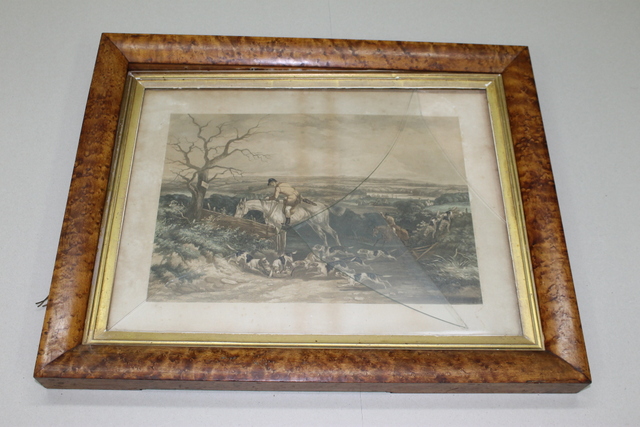
The glass will more than likely break into several pieces at the point where the frame hit something solid.
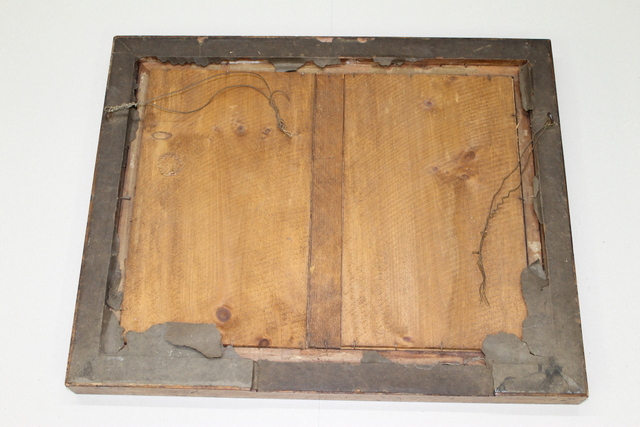
It is also interesting to see vertical brown lines on this print which are burn marks from air bombardment. The brown lines appear where there are gaps in older wooden backings as can be seen in the first photo.

Care must be taken when transporting the picture frame with broken glass pieces in it as these pieces can easily damage the picture inside. It is best to keep the picture frame horizontal during transit so the glass does not slide about and scratch the surface of the picture any more than may have already happened.
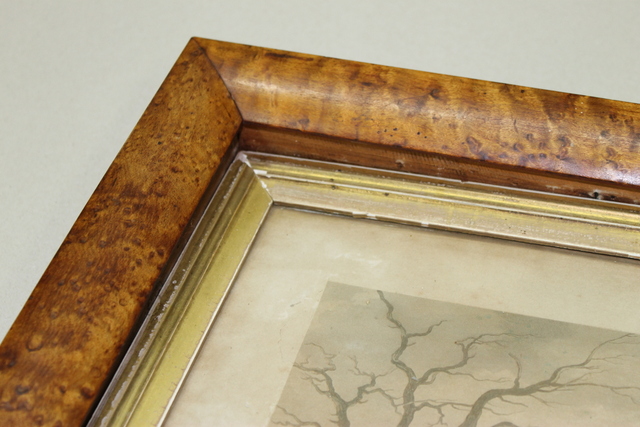
Once the glass has been removed the gold slip will require attention where the broken glass has chipped the plaster covered in gold leaf from the wooden profile.
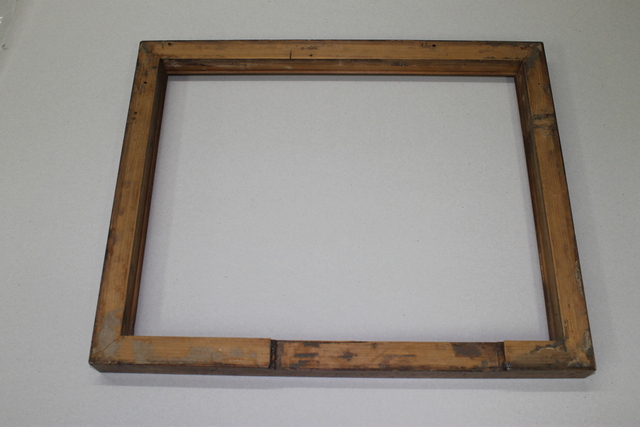
Next all the loose old backing paper needs to be removed from the frame so the new backing paper will have a clean surface to adhere to.
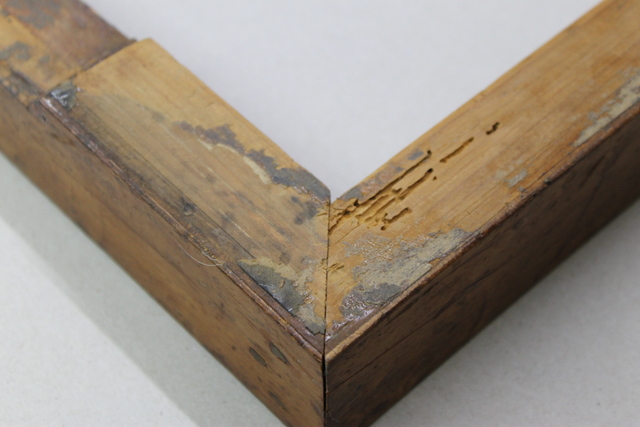
This may reveal more than you bargained for, in this case woodworm. The holes are old and thankfully the woodworm have well and truly flown. However it may be a sign that woodworm could well be present near to where the frame was hanging. Check your wooden furniture for small holes or dust below the holes for newer "guests".
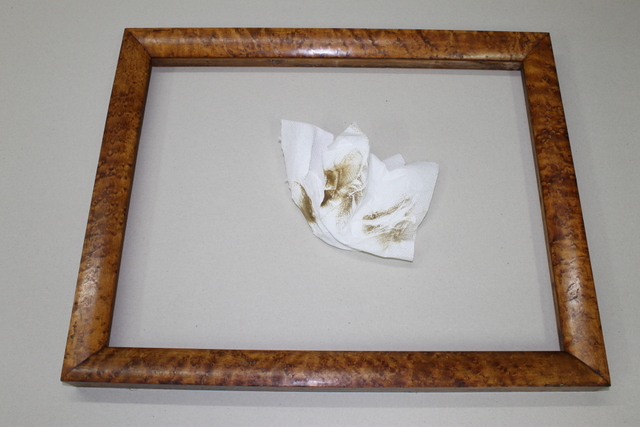
Next the veneer surface can be gently cleaned with warm soapy water. This will remove most dirt and grime such as cigarette or chimney smoke. The veneer will need to be re-polished to regain its original glossy look.
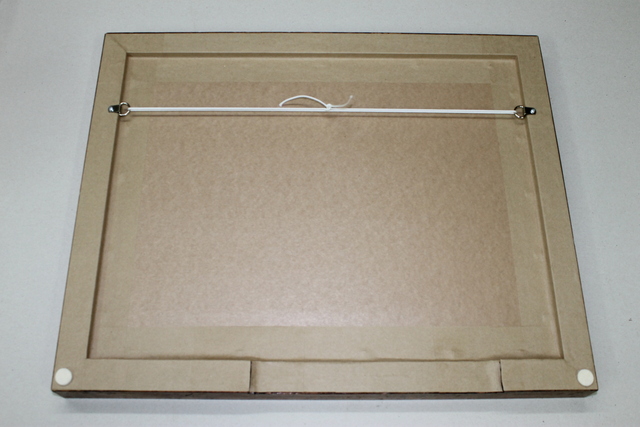
Once a new piece of glass is cut to fit the frame, the picture can be re-fitted into the old frame. Here a new acid free backing was chosen and the old wooden slat backing discarded. However we could have fitted the old backing on top of the new acid free backing to maintain the provenance of the picture whilst protecting the back of the print with the new acid free backing. Note the use of circular felt pads or bumpers, on the bottom corners of the frame to keep a small distance from the wall so that air can flow around the picture and keep a slight distance from any possible dampness in the wall.
The picture is now ready to return to its original hanging place.
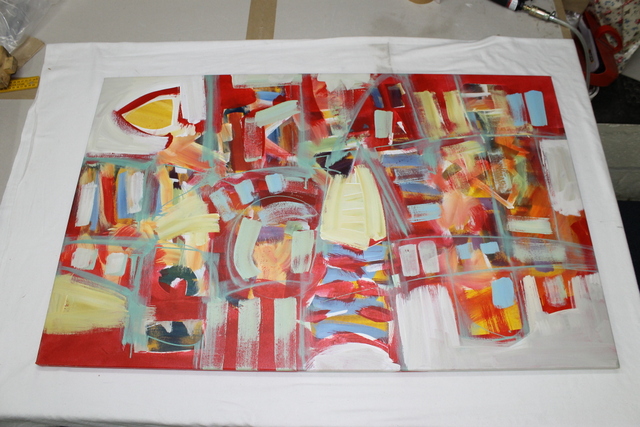
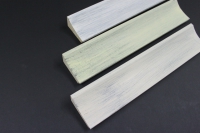
Stretching canvas art such as oil or acrylic
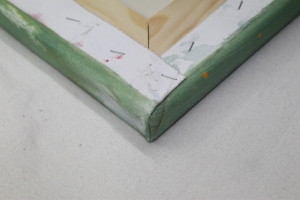
Canvas stretching is a project that we often get involved in. Many of us are lucky enough to enjoy holidays where large and often very affordable art is readily available to buy. Popular work includes oil or acrylic paintings on canvas. An issue that many people face is the logistics of physically getting the oil on canvas back home without damaging it in transit. Often the easiest way is to take the canvas off of its wooden stretcher and roll the canvas up. Then hope that the luggage handlers do not crush your case too much! This is not an ideal way to transport an oil as you can risk damaging it. However there often isn't another choice.
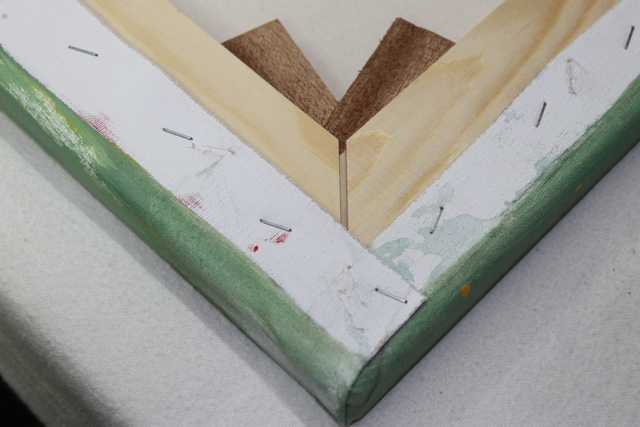
What can be a bit of a shock to the customer is when the canvas is brought into my workshop and they discover that they need a new stretcher bar for the oil in order to frame it correctly. This can be a significant extra cost but the oil should be stretched across a suitably sturdy stretcher bar system or else you risk damaging the oil painting in the short to medium term. Here is just such a project with some oils on canvas from South America. The images displayed are from two different size oils but the theory is the same for both.
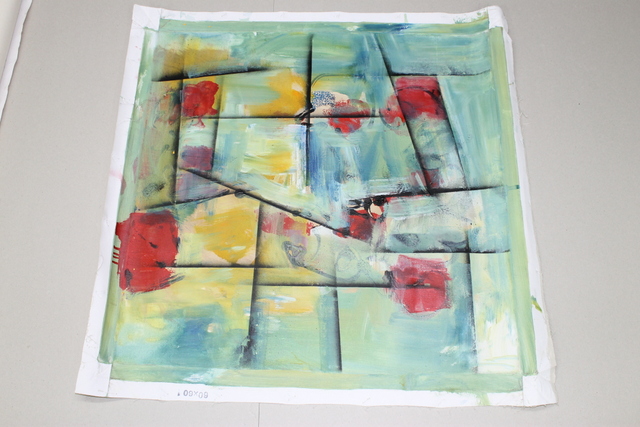
Notice the extra canvas around the edge of the image which is essential to successfully stretch any canvas. Now we need to measure the size of the canvas and assemble the correct size stretcher bar system.
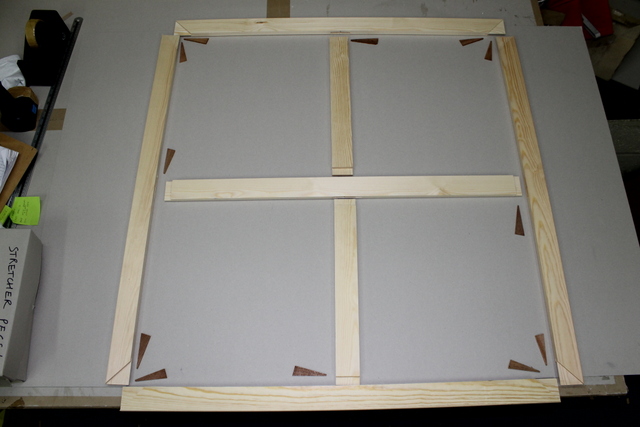
Here the canvas stretcher bars are arranged ready to be assembled. The stretcher bars simply push together (with gentle persuasion with a mallet!) and have stretcher keys inserted into the corners once the canvas is attached to the stretcher to maintain the stretch of the canvas.
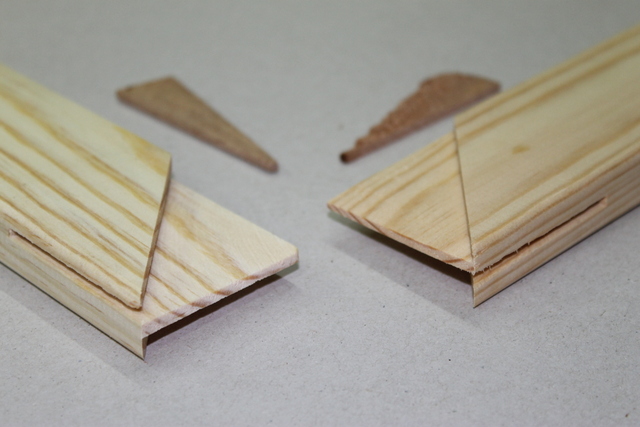
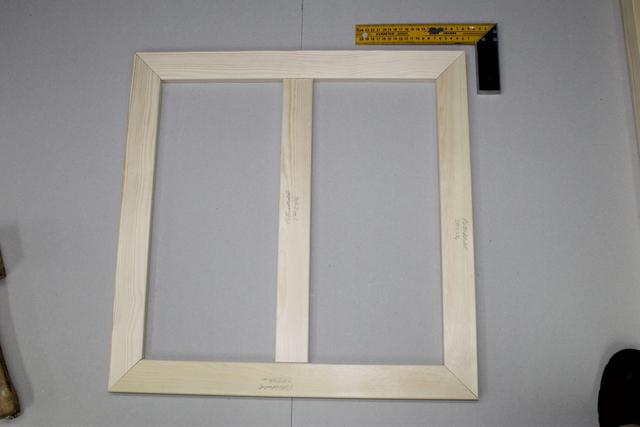
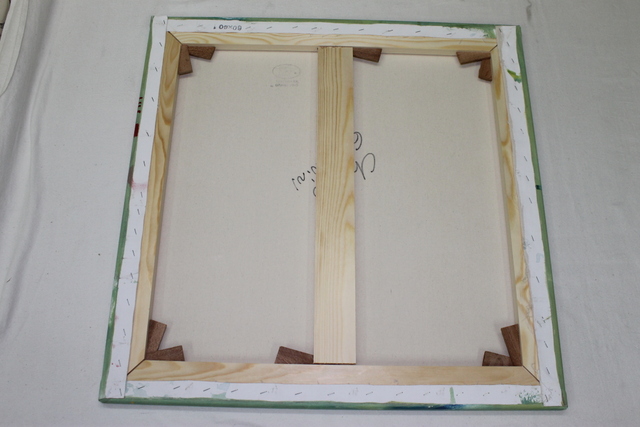
Once the canvas stretcher bar is assembled the stretcher must be square.
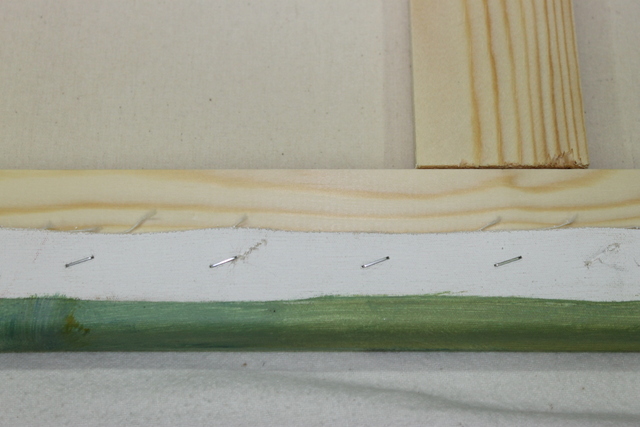
Once the stretcher bar is square the canvas can be attached using a staple gun.
Notice the staples should be positioned diagonally so that the holes do not form one long serrated line which could form a tear in the canvas.

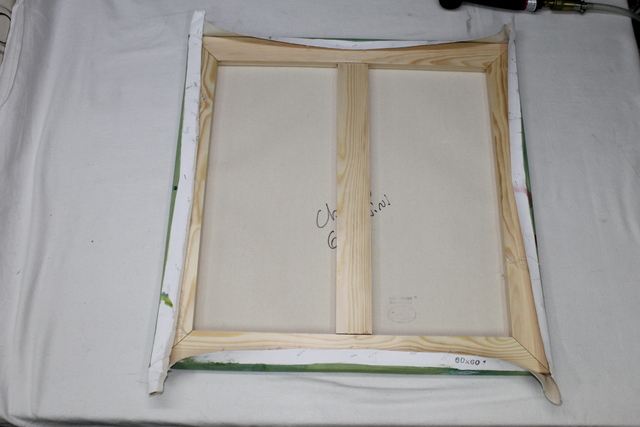
When the corners are stretched properly they should be fairly flat but this will depend on how much excess canvas there is available.
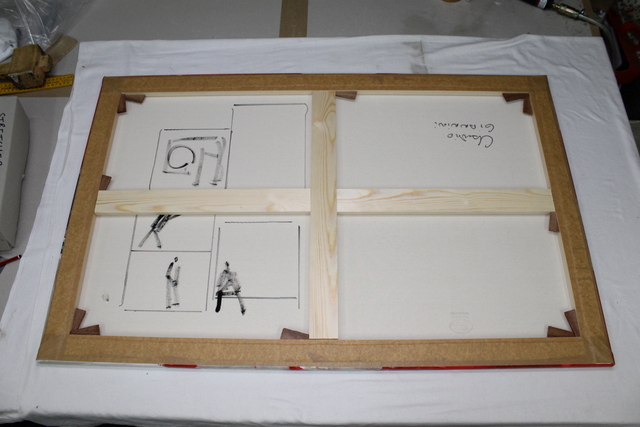
Now the real advantage of the purpose made stretcher bar comes into its own as the keys are inserted into the corners. As you can see when the keys are inserted and tapped carefully with a tack hammer into place this will slightly increase the gap between the stretcher pieces. This has the effect of slightly increasing the overall size of the stretcher bar. This effect will add the final stretch to the oil on canvas and make the canvas lay flat on the stretcher bar.
The stretcher pieces are also inserted at the end of the cross bars if they are needed (generally for larger canvases over 30" long). Here is another larger image with the keys inserted in both cross bars.
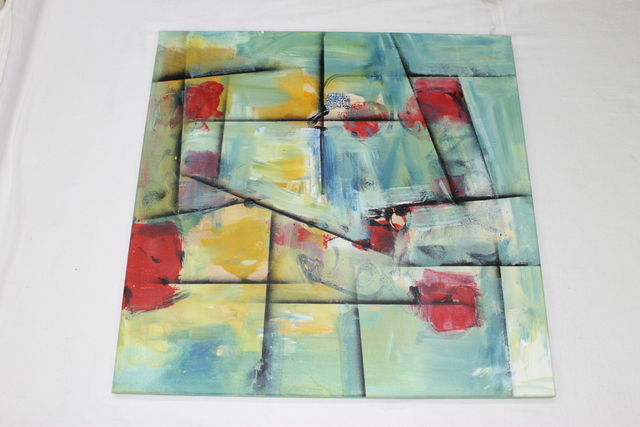
The keys may well need adjusting over longer periods of time as the canvas will initially expand once stretched. Also temperature change in a room such as central heating going on and off and season change will affect the tension of the canvas so keep an eye on this.
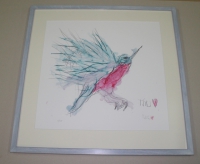
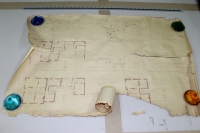
Hand drawn maps or illustrations

Many of you I know enjoy displaying framed maps in your homes. I have been fortunate to frame some wonderful maps as a picture framer. I have also written about them myself a few times on this blog with regards to repairing them, framing unusual ones of the United Kingdom or even scratching them! Basically we are big fans of maps and cartography in general. With this in mind I have recently become aware of a very skilled cartographer who can hand draw maps for you to order. Kevin Freeborn's maps focus on illustrations within the maps but everything can be designed to your own personal requirements as they are all hand drawn. Here is an example of the village of West Meon.

This simply represents a small detailed section of the map but please visit Kevin's website (called 'cartopicts') for more examples of some amazing illustrated maps as well as his art and photography.
BBC Radio Four talks about picture framing
When you think about it, picture framing is a bit of an unusual practice and certainly takes a bit of consideration. That certainly seems to be the general opinions of all the picture framers and artists interviewed recently for BBC Radio Four. The 30 minute programme covers many aspects of picture framing including unusual items that framers have framed and also some picture framers' ideas of what is good art. My favourite parts include the glazier who also makes picture frames stating that "if you can't tell which way round it hangs it is rubbish!" Perhaps a slight over generalisation but I understand where he is coming from. There is also at least one 'yuk' moment with some of the unusual items that have been framed. An interesting listen if you have half an hour to spend. To listen to the programme click here. Enjoy!
Fast and Furious Framing!

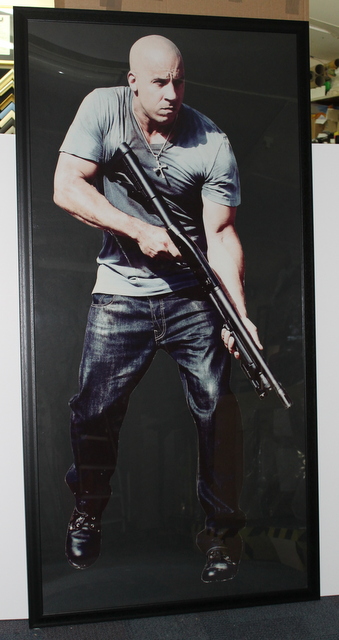
Perhaps a little late for the seventh edition of the Fast and Furious film franchise but another way of looking at this is it is in plenty of time for the eighth edition! This free-standing, life-size cut out figure of the actor Vin Diesel was bought in to the workshop having seen better days.
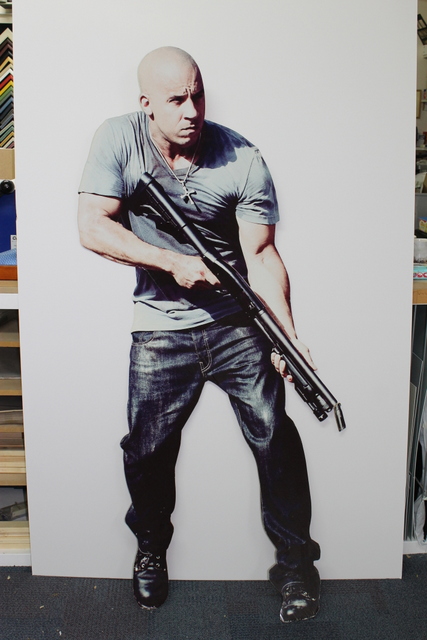
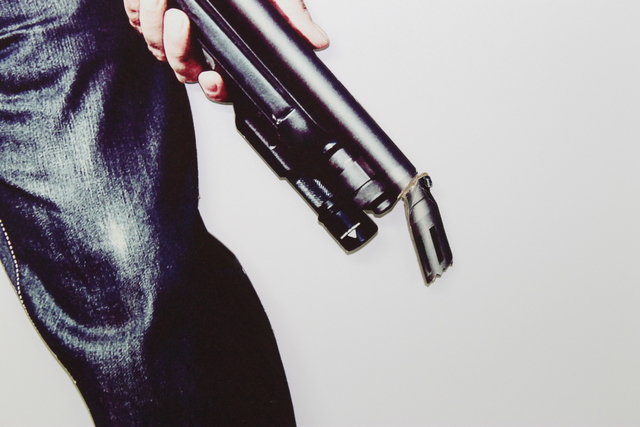
The customer used to have the figure free standing in their sitting room. This is where some damage happened to the end of Vin's gun (no sniggering please!).
After careful consideration about choice of materials, it was decided that the figure would look best against a black background. This would make the figure stand out with increased contrast. The frame was to be very incidental as well and only really there to protect the image so a black frame was chosen to match the background. Due to the uneven thickness of the supporting pieces of card at the back of the figure Perspex or plastic glass was used to allow for the potential pressure points which could have broken ordinary glass if used.
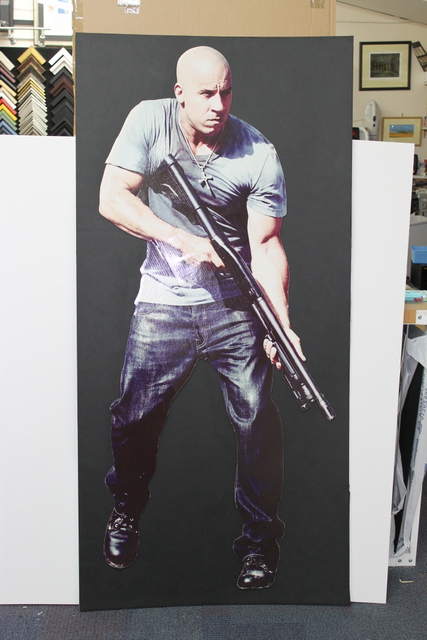
The image was secured onto the backing board to give the impression of running. The use of a black background really creates a three dimensional effect.
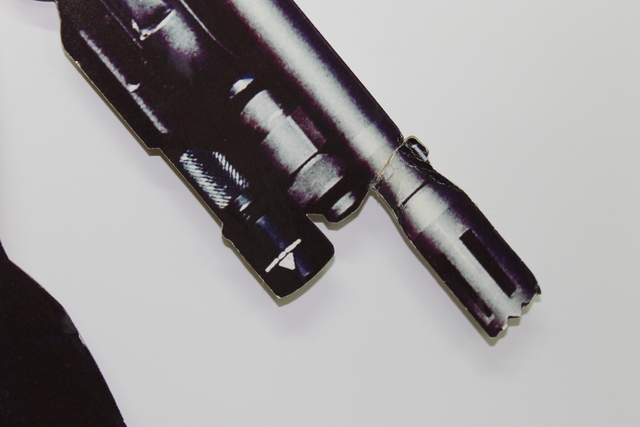
The end of the gun was also repaired as best as could be achieved. The repair is not invisible and neither is it intended to be.
The final framed image is a great way to show off your favourite film character and the use of black materials adds a touch of definition to the overall effect.
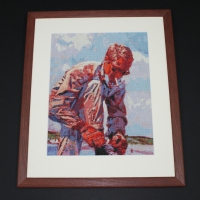
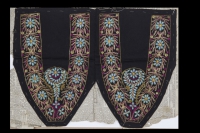
Very large brass rubbing of soldier

This was a very old and damaged brass rubbing of a soldier called Sir Roger De Trumpington. The customer had rubbed this herself many years ago and had kept it rolled up as she never had the space to display it properly. The original rubbing was taken from the church of St. Mary and St. Michael, Trumpington, Cambridgeshire. Having recently moved she decided to have it repaired and framed. Here is the condition of the rubbing before suitable conservation and framing.
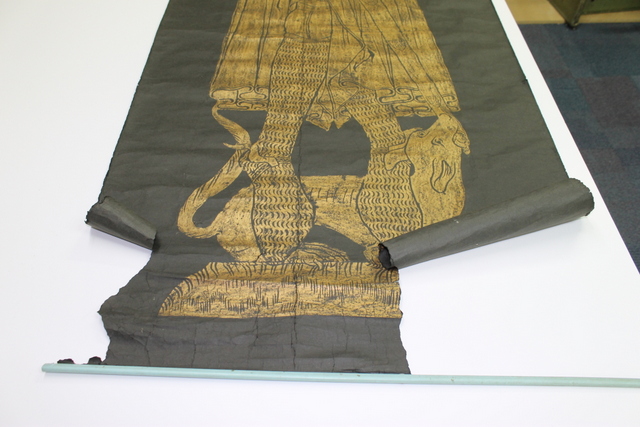
The rips and creases in the paper were quite extensive as the rubbing had originally been displayed simply by using Blu-Tac and was easily damaged by time.
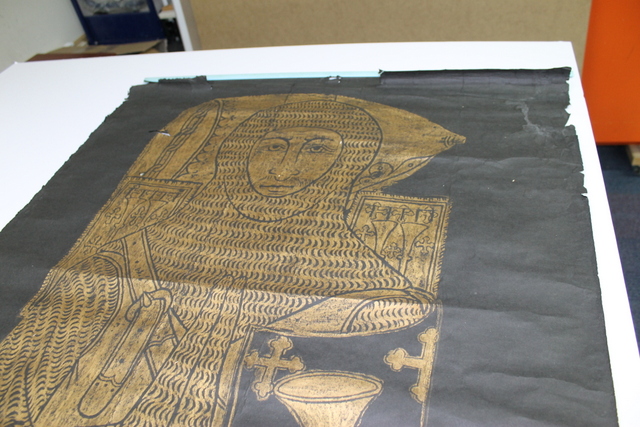
The brass rubbing was carefully pressed and repaired using acid free document repair tape. Once the image was suitably repaired, a gilt frame was used to protect the rubbing. The type of gilt frame was carefully selected so that the gold colour of the frame suited the gold of the rubbing.
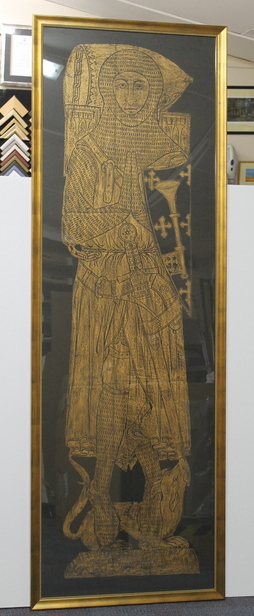
The frame was eventually screwed to the wall using glass plates to prevent the frame from twisting on the wall.
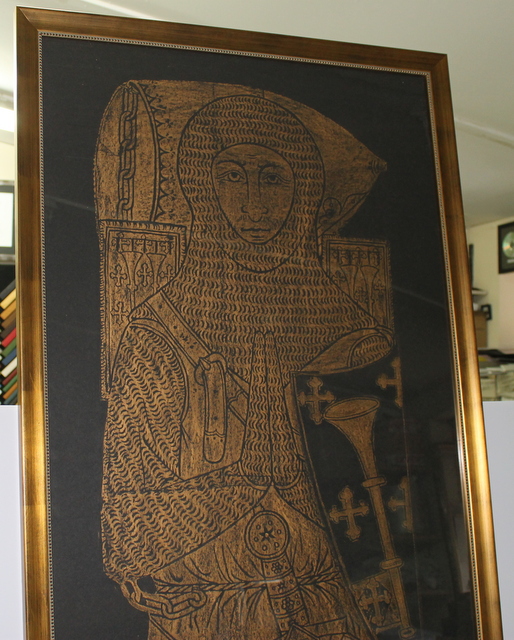
As you can see the beaded inner edge adds a certain distinction to the overall effect. A wonderful project to be part of and the finished item stands on guard proudly in it's new home.
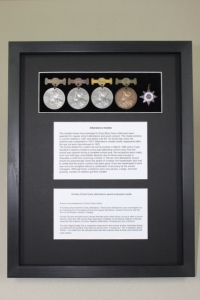
Medals

Medals and medallions are a frequent project for picture framing. Quite often the customer will be the children of the person who was awarded the medals. It is a great way to display your pride in your family's achievements and bravery. The frame used will need to be deep enough to keep the glass away from the medals. Also the medals may well be on one pin and care should be taken to keep them intact in case future generations wish to wear the medals. The medals are impressive enough by themselves but what will make the whole project even more of a showcase item will be to display a photo of the person who was awarded the medals and perhaps a relevant photo of where the medals were awarded. Here are a couple of recent examples of customer's relations:
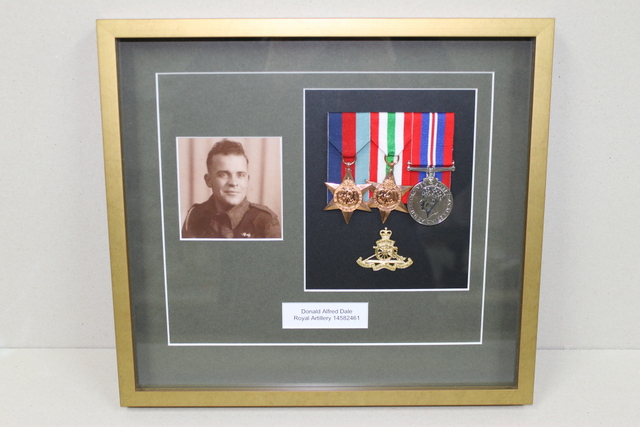
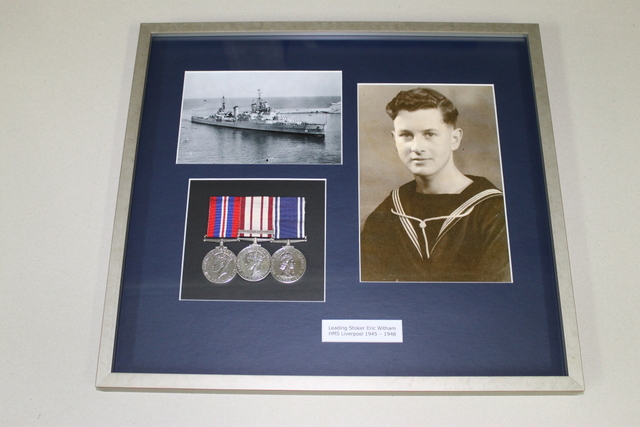
A caption explaining who the recipient is serves as a useful piece of information for any admirer. Also in both cases the medals are mounted onto black velvet to use contrast to make the medals stand out. Then a suitable colour mount board is used. In both the above cases a relevant colour for the mountboard depended on the type of armed force (Army and Navy).
Tipple ART
A wonderfully innovative idea from Wendy Richards and Linda Westall, this is all about fun with art. The idea is to have a drink and have a go at painting. Definitely a time to de-stress! No painting experience is necessary as you will be helped to produce your artwork in a lovely setting. Visit their website for more info and availability. Both Wendy and Linda are very accomplished artists themselves and their work can be viewed at their websites. Wendy is one of my favourite artists with some beautiful coastal work. Linda's passion is all things equestrian and creates some stunning images.
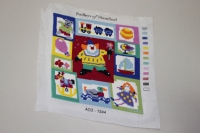
Are you a Scrabble fan?
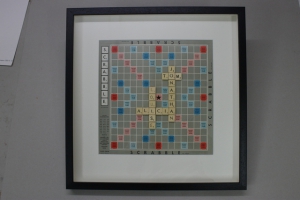
Are you a person who still enjoys a board game? Of course you are! Well here is a really innovative idea from Lou Hamer using old Scrabble board games to make up names of your family or friends. It is a great idea for perhaps a friend or family who loves Scrabble. You could spell out your children's names (as featured below) or maybe a friend who you might have challenged to a game in the past.
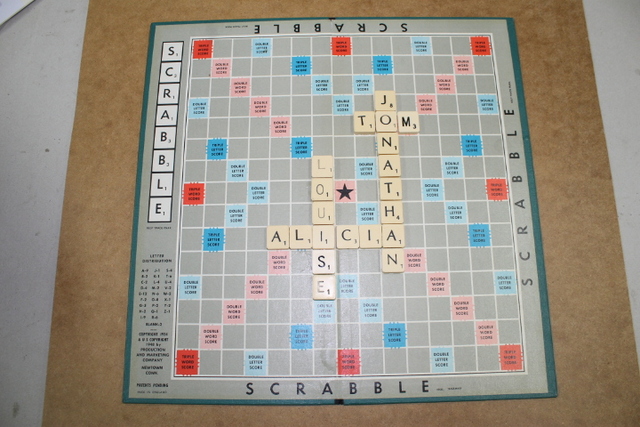
The letters are glued into place on the Scrabble board.

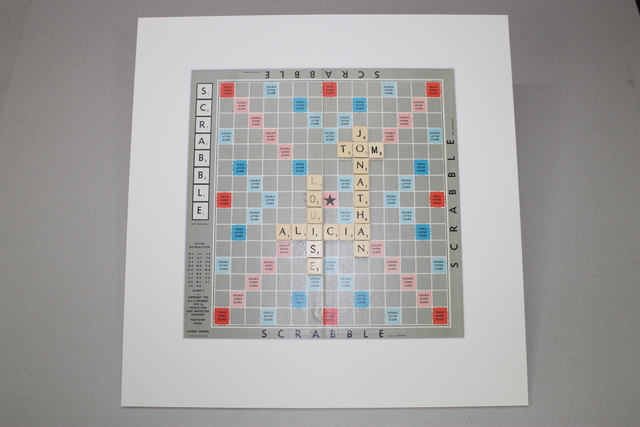
Then the board is over mounted with in this case an off white mount board.
Once the frame is chosen the glass needs to be elevated away from the letters. This is called a box frame technique and is a technique mentioned many times on this blog and utilised many times at the Petersfield Framing Studios.
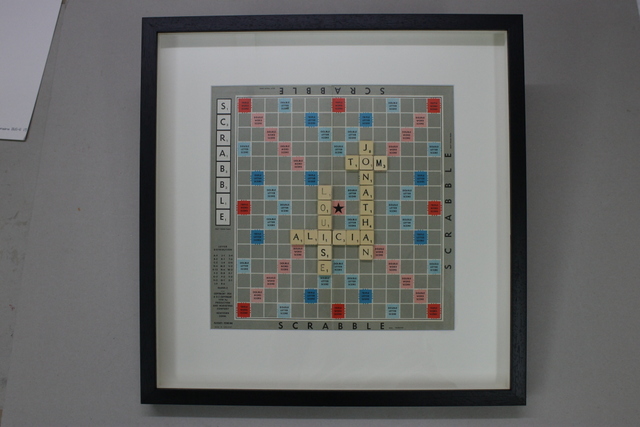
The box frame is a great way to create a 3-D effect and also protects the Scrabble board for years to come. This particular version is on display along the corridor on the way to my workshop. Lou Hamer will make these to order for you so why not visit her website for more details on Lou's Home Sewn products.
-
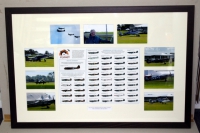
The Great South Run montage
This was a particularly nice montage to frame as the customer had kept these items safe in a draw for…Read More -
-

-
-
-
-
-

-

-
-
-
-
The "Wow" factor
It may sound a little cliché but the "wow" factor is definitely something we are looking for as an initial…Read More -
-

-

-

-

-

-
-
Certificates
When you first think about certificates perhaps you could be forgiven for believing they are not the most exciting pictures…Read More -
-
-
-
-